Aperture Priority Mode - Tips to Use It
Aperture Priority Mode - Tips to Use It
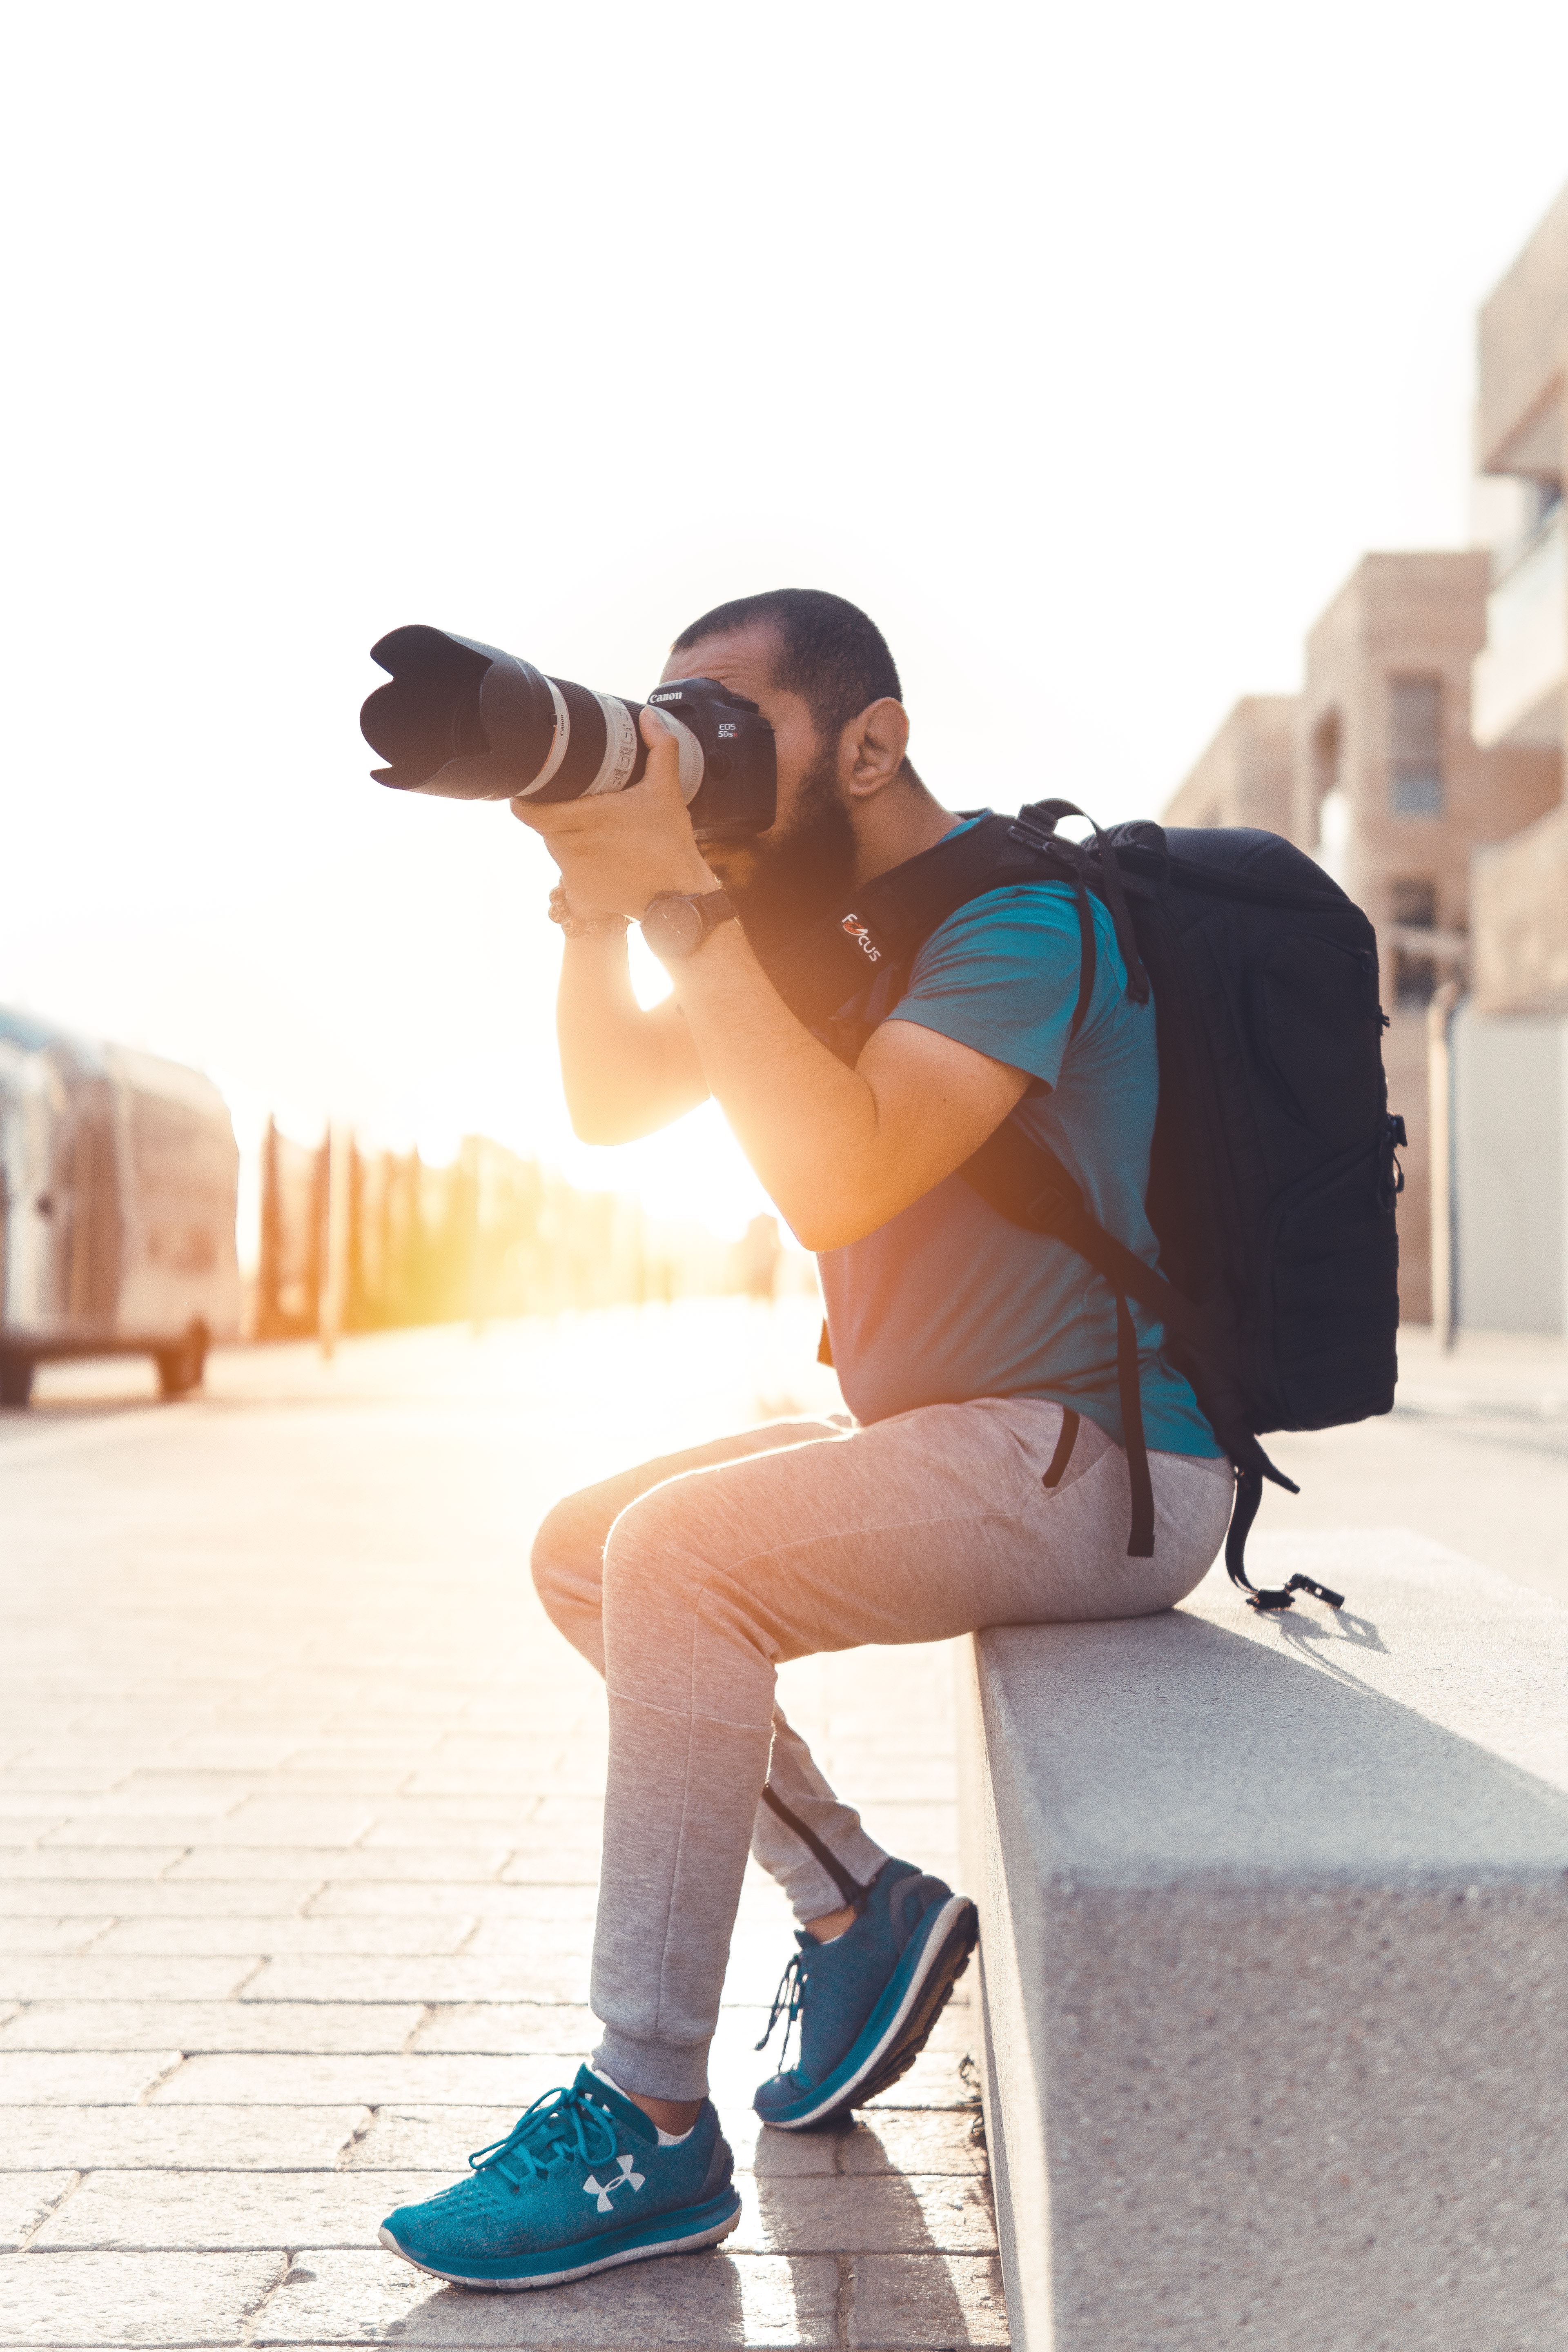
Before knowing about the tips on how to use aperture or knowing about the aperture settings we should know about aperture. What aperture is? What is the use of an aperture in a camera? So, let’s get started with what aperture is?
Aperture is an opening within the lens that allows light to enter inside the camera body. Aperture is similar to our eyes. So if you want to learn about photography simply remember that it plays the same role a human eye plays. It is the pupil of the camera lens. You can control the size of the aperture. Aperture has many effects on our photograph. Some of these are exposure or brightness, depth of field.
There is something you should always remember that a larger aperture means larger blur background and small aperture means smaller blur background. This large and small relation can be expressed as f-number and f-stop. Aperture settings in DSLR cameras can be denoted as f/2, f/8, etc. This f-stop describes the size of the opening. Smaller the number larger will be the aperture and vice- versa. For learning the selection of correct aperture one should know about exposures and depth of field.
Now here are some tips for shooting with wide and narrow apertures and also what aperture to use in low light.
- When the aperture is wide the exposure will be maximum that will allow more light to enter the camera that will create a good image accordingly
- . If you are in darker environments you should use a large aperture like f/2.8 it will help more light to enter and obtain a clear image.
- If you are in a brighter environment you should use a small aperture like f/22.
- As far as the depth of field is concerned, larger aperture results in shallow depth of field whereas smaller aperture will result in a deeper depth of field.
- Large apertures or shallow depth of field is ideal for portraits whereas small apertures or deeper depth of field is ideal for landscapes.
- When you select the aperture for your photo manually there will be two modes - aperture priority mode and manual mode.
- You select the aperture in aperture priority mode and the camera itself selects the shutter speed.
- One has to select both the aperture and shutter speed manually in manual mode.
Now when we have discussed aperture priority mode we should know how and when to use aperture priority mode. So, here are some situations when one should use the aperture priority mode.
- When we widen the aperture. When you let more light come in you need to speed up the shutter speed.
- Also when you narrow the aperture.
If you are photography enthusiasts you can learn photography online from home through live classes.
So, this was all about aperture priority mode, aperture priority tips, and its use. Happy photographing!
Get access to the course & Enhance your skills from your home through a laptop. Know more.